We all know therapeutic horseback riding barns aren’t rolling in dough enough to buy new horse blankets every time the horses get into a squabble. Here are some tips for repairing horse blankets that have worked for me.
This stems from today, when I repaired yet another hole in my own horse’s blanket in preparation for winter, and realized that hey that huge rip I repaired 2 winters ago has held up amazingly! I need to share how I did that because at the time it was a shot in the dark.
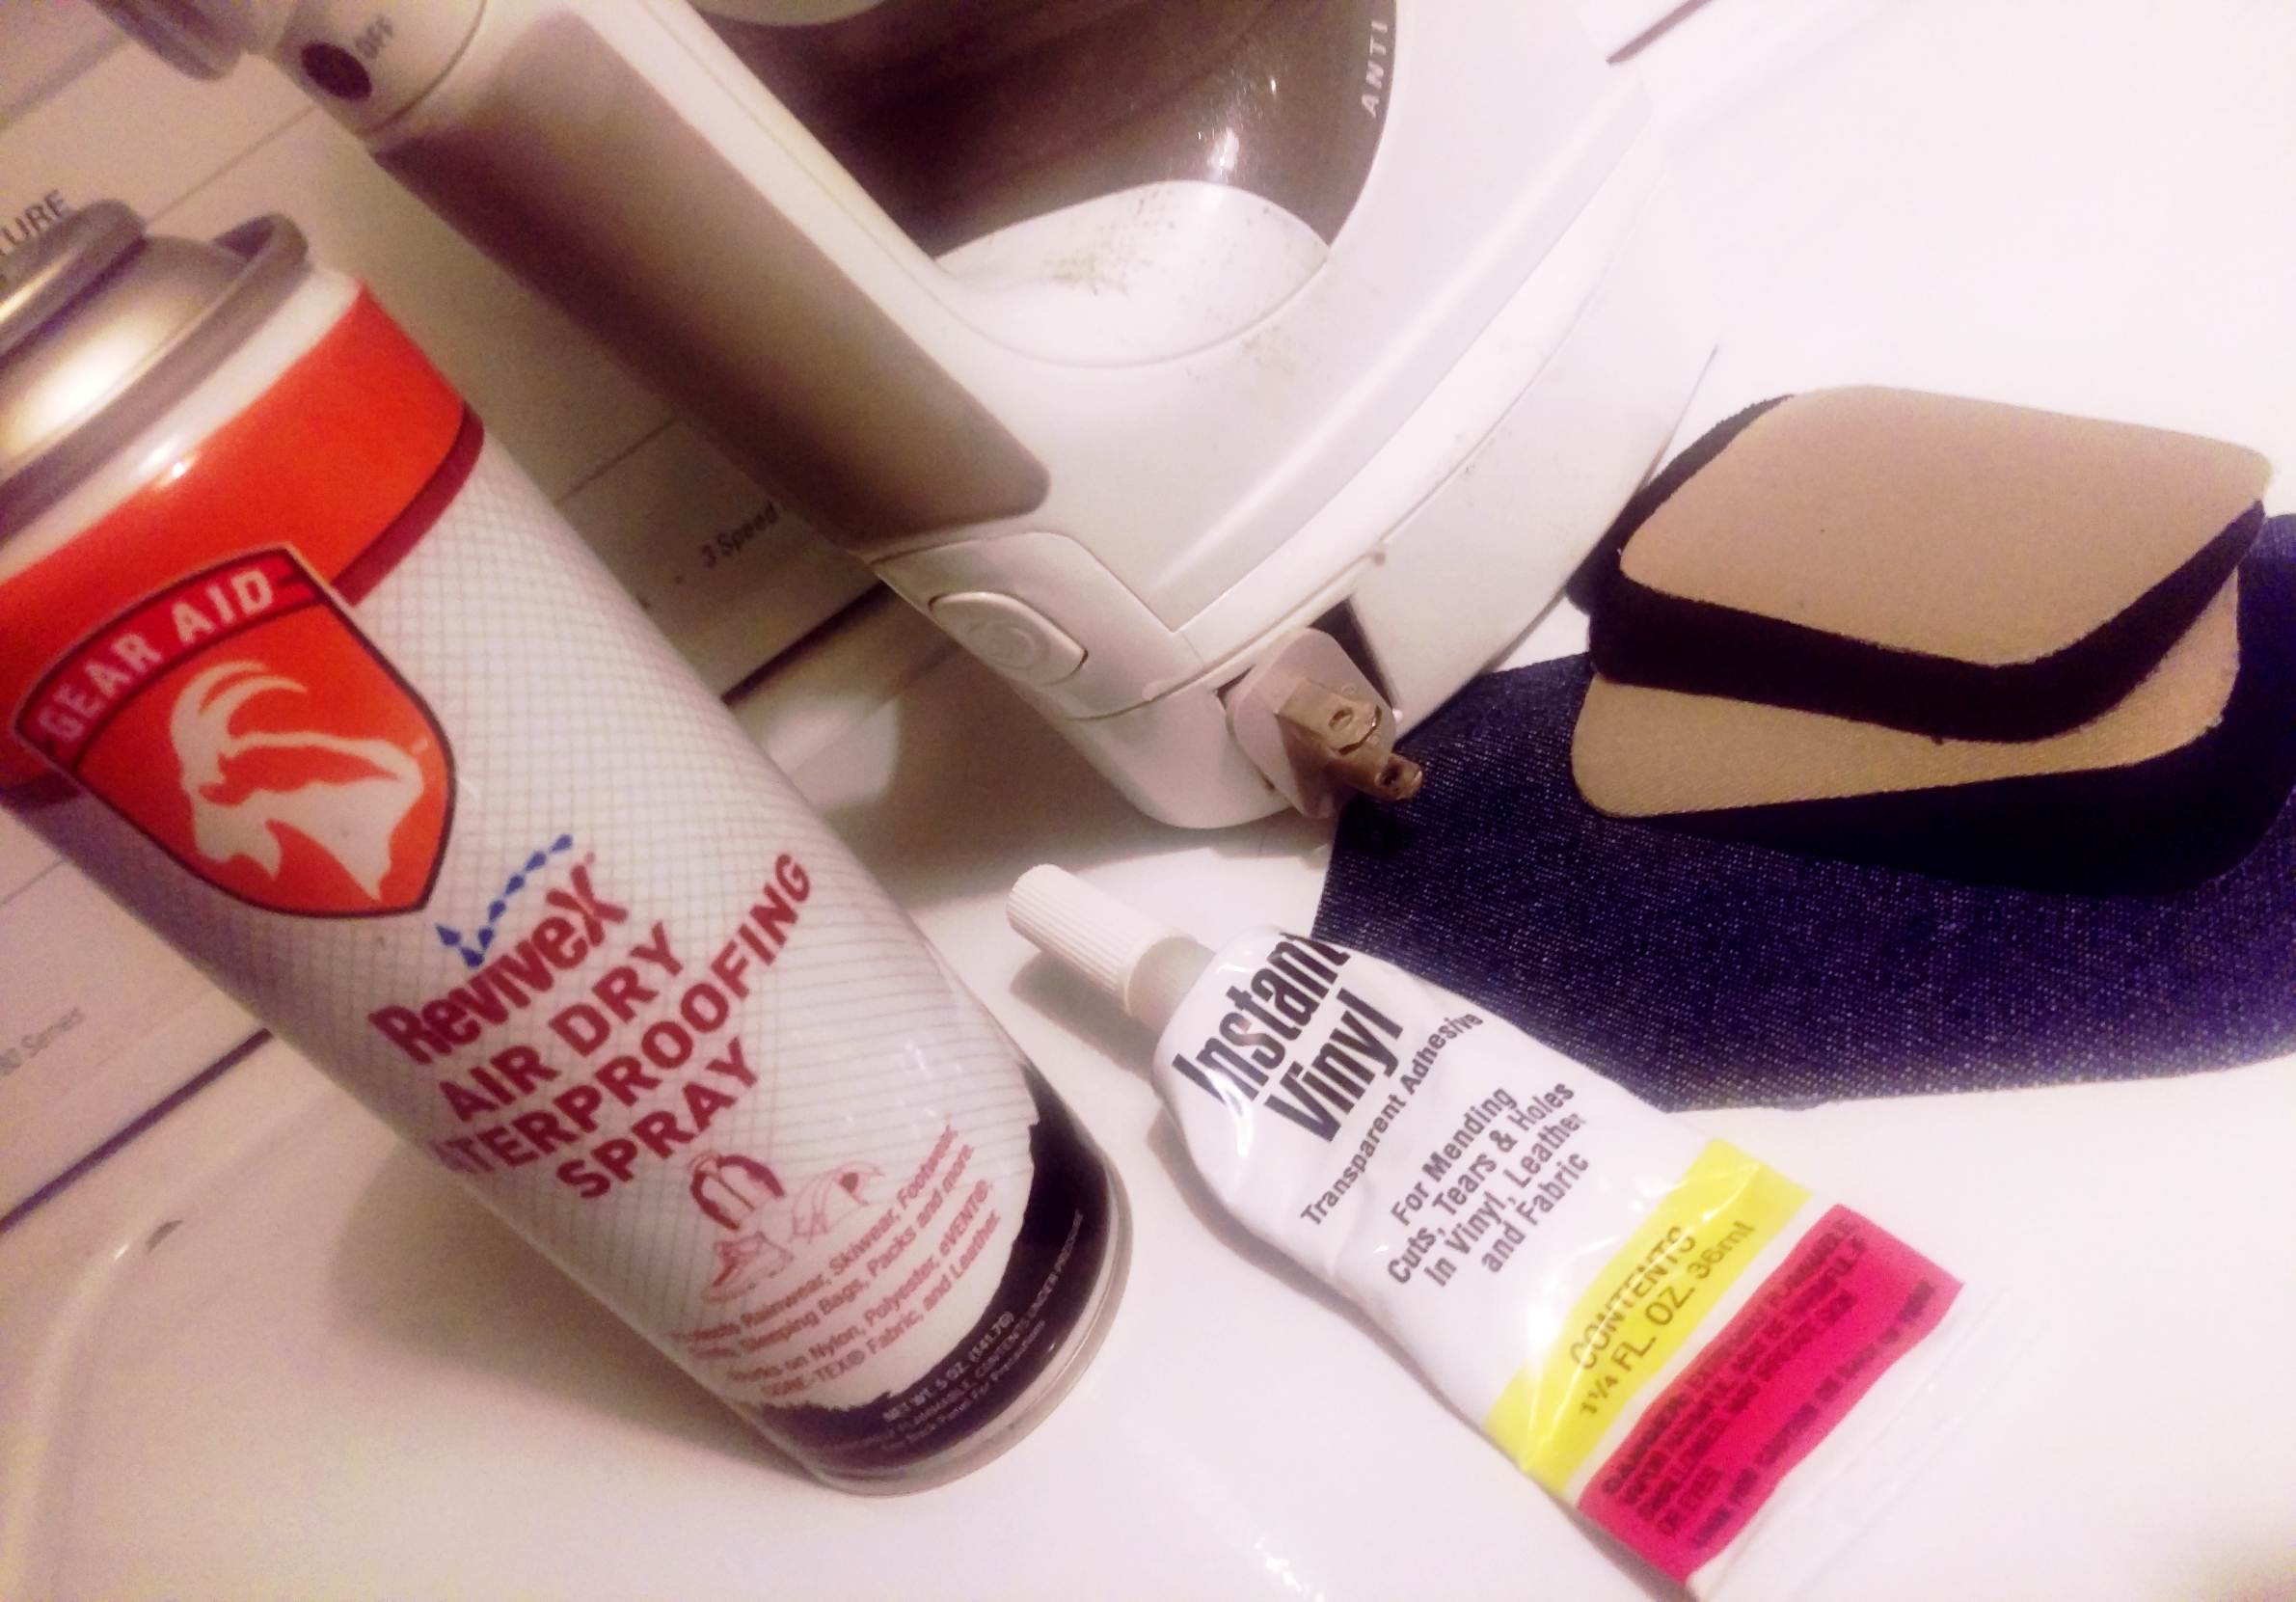
First the ingredients:
- Iron on patches
- Instant vinyl
- Waterproof spray
- Thread and needle, preferably heavier duty (not pictured)
- Any brand will do! I found all these things at the local sewing store. Except maybe the waterproof spray, I think I got that at the sports store.
The recipe:
- For rips, sew the torn pieces back in place. I did an X stitch, not all the way through the blanket, just on the layer that was ripped. I also sewed the ripped stuffing material back together the best i could.
- For holes, use an iron on patch. Cut the right size to cover it, hold the iron on it for about a minute, move the iron all over to make sure it’s good and set and the edges are’t flipping up, then let it sit for a few minutes to cool without moving it. For a hole I had on the tail cover that went straight through, I cut two iron on patch pieces and put them on either side, sandwiching the hole between them.
- For extra protection, sew the edges of the patch. Then there’s no way that puppy’s coming off.
- For everything, spread Instant Vinyl around the edges – the edges of the rip, the patch, smearing it all over the new stitching, and then over any miniscule holes and punctures that are too small to really patch or sew. This seals off any holes – you don’t want water leaking in to that blanket stuffing! Then let it dry; mine says for 45 minutes.
- Lastly, spray the area with waterproof spray to really seal the deal and let it dry. Mine says until thoroughly dry. Duh.
All that is if you want to do it the most complete probably stronger than the rest of the blanket way. I have skipped step 3, which makes things go much quicker, but those patches always seem to come off before the end of winter.
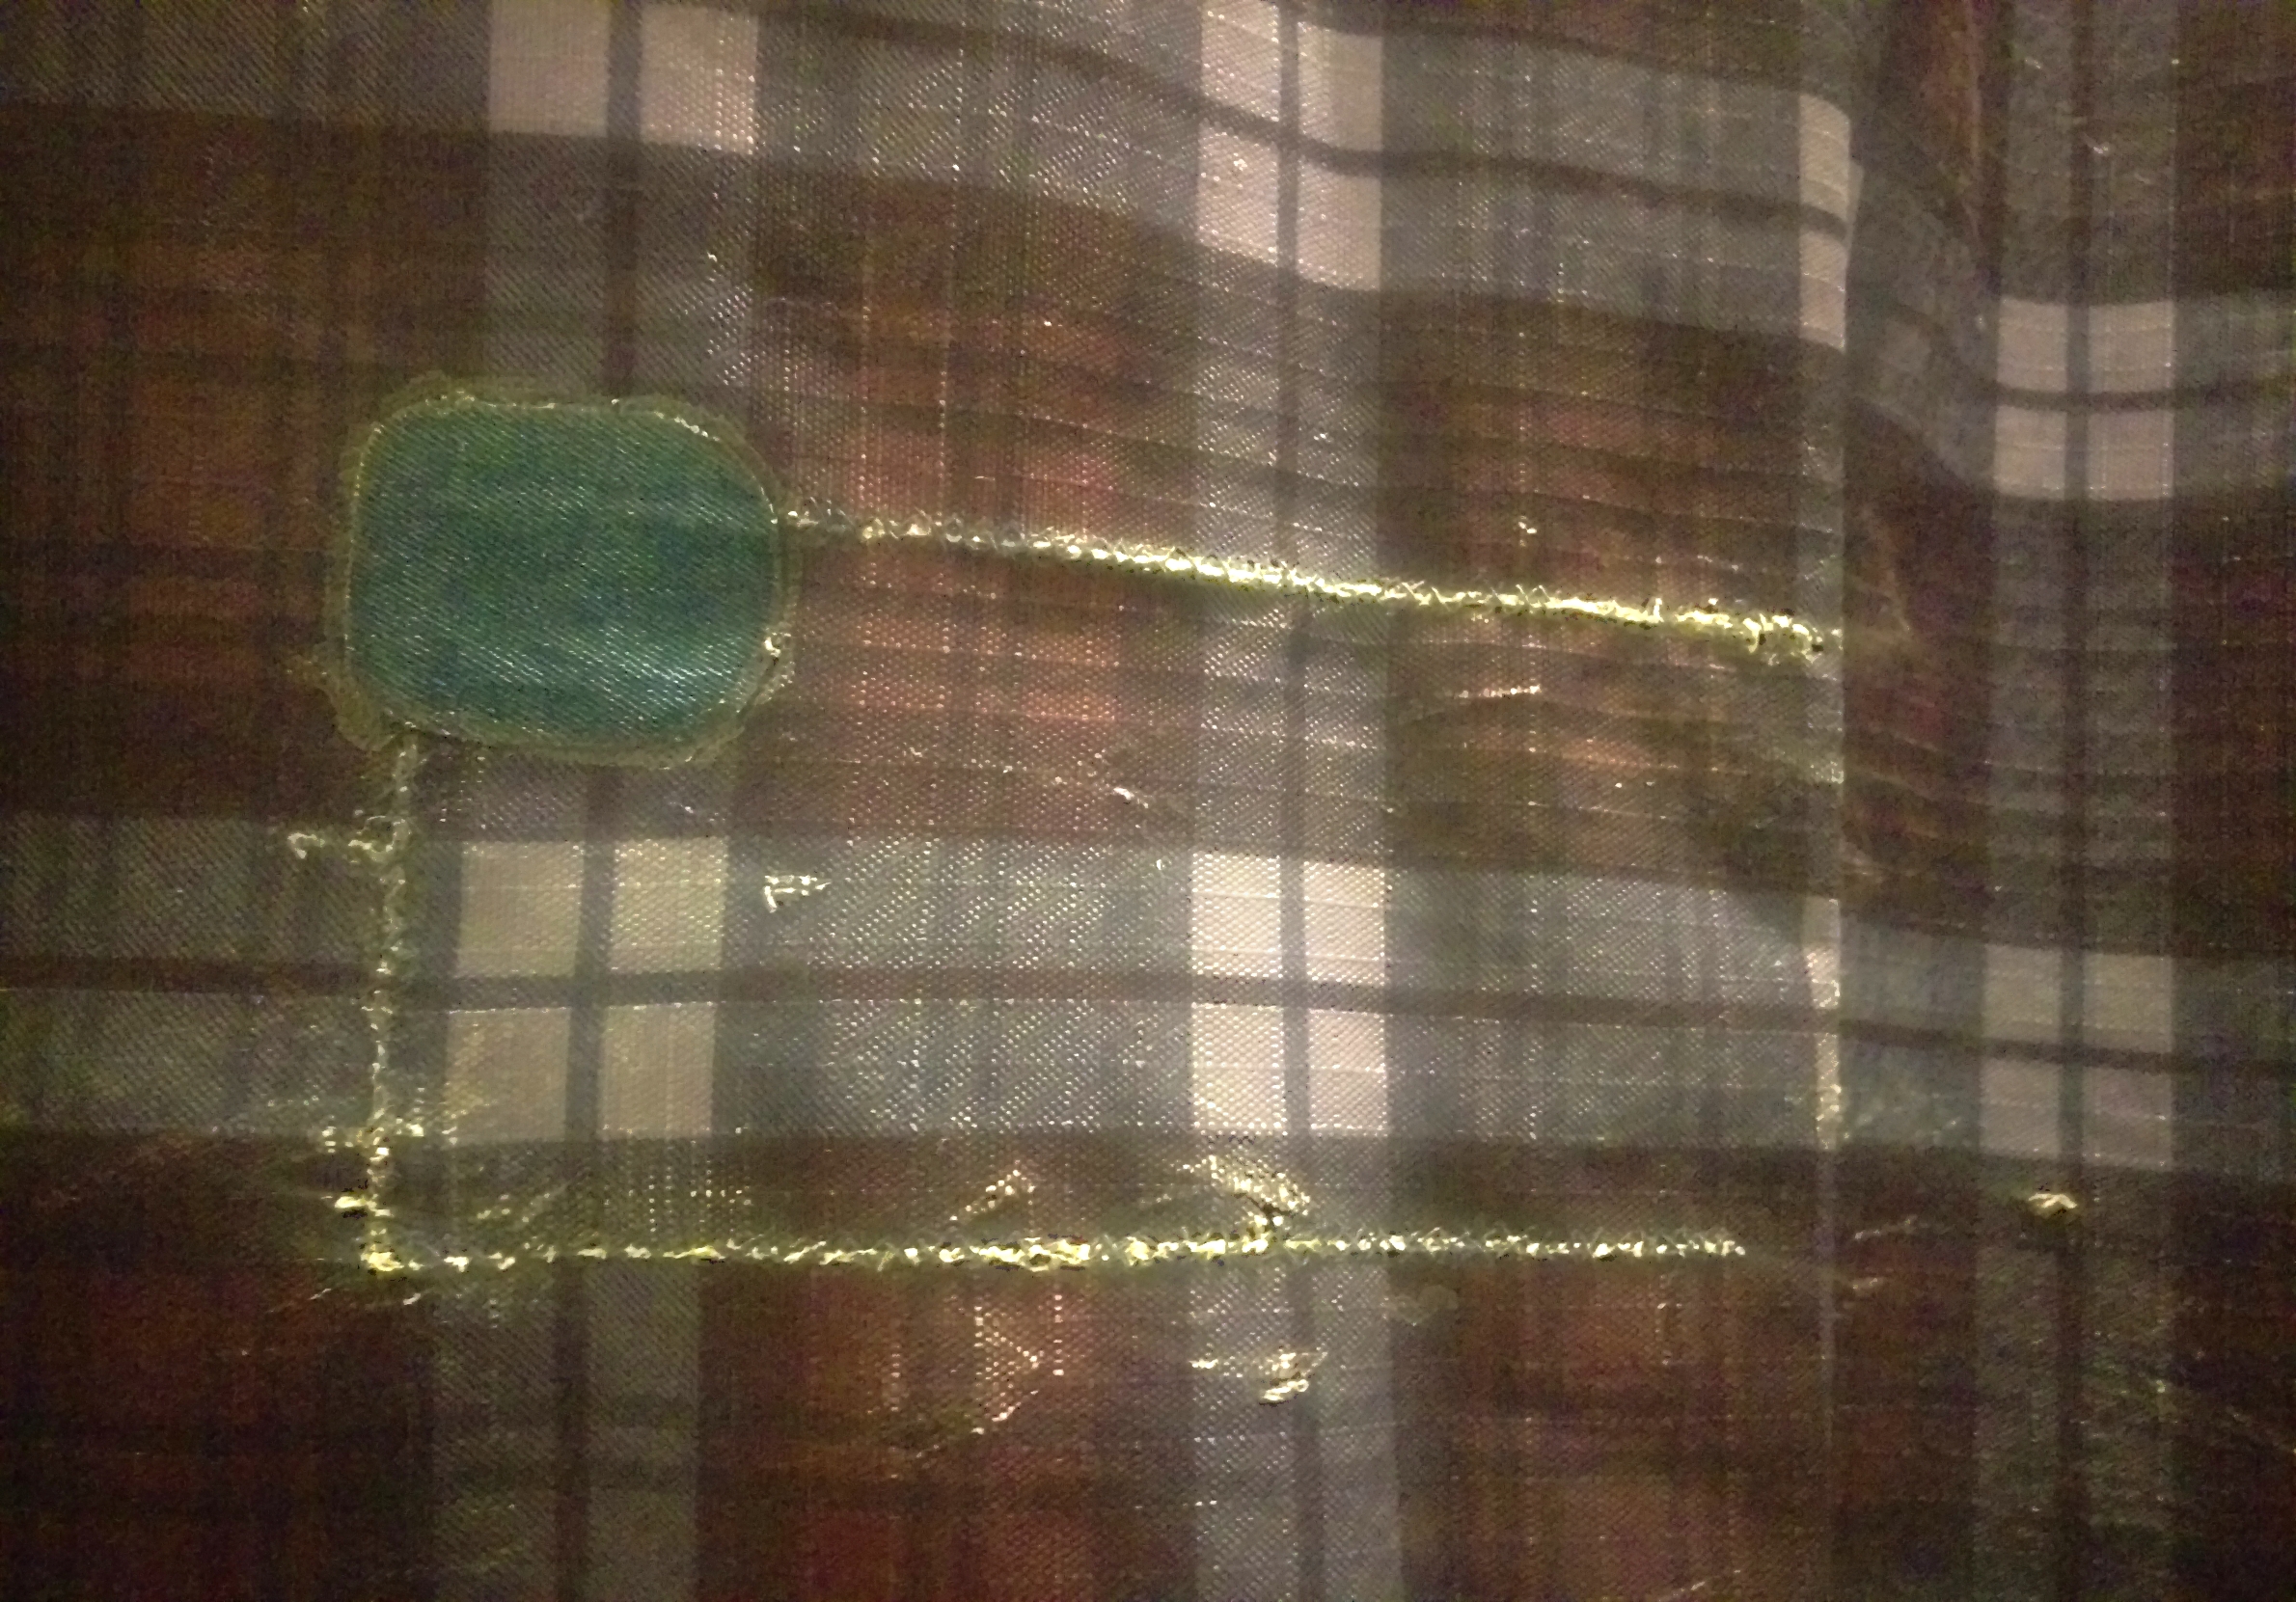
This is the super repair I did 3 years ago to a 10 inch rip, of which most stayed intact but a corner got torn off, hence the patch. Sewn, ironed, plastic vinyled, and waterproofed. I can’t believe it’s still there 3 years later.
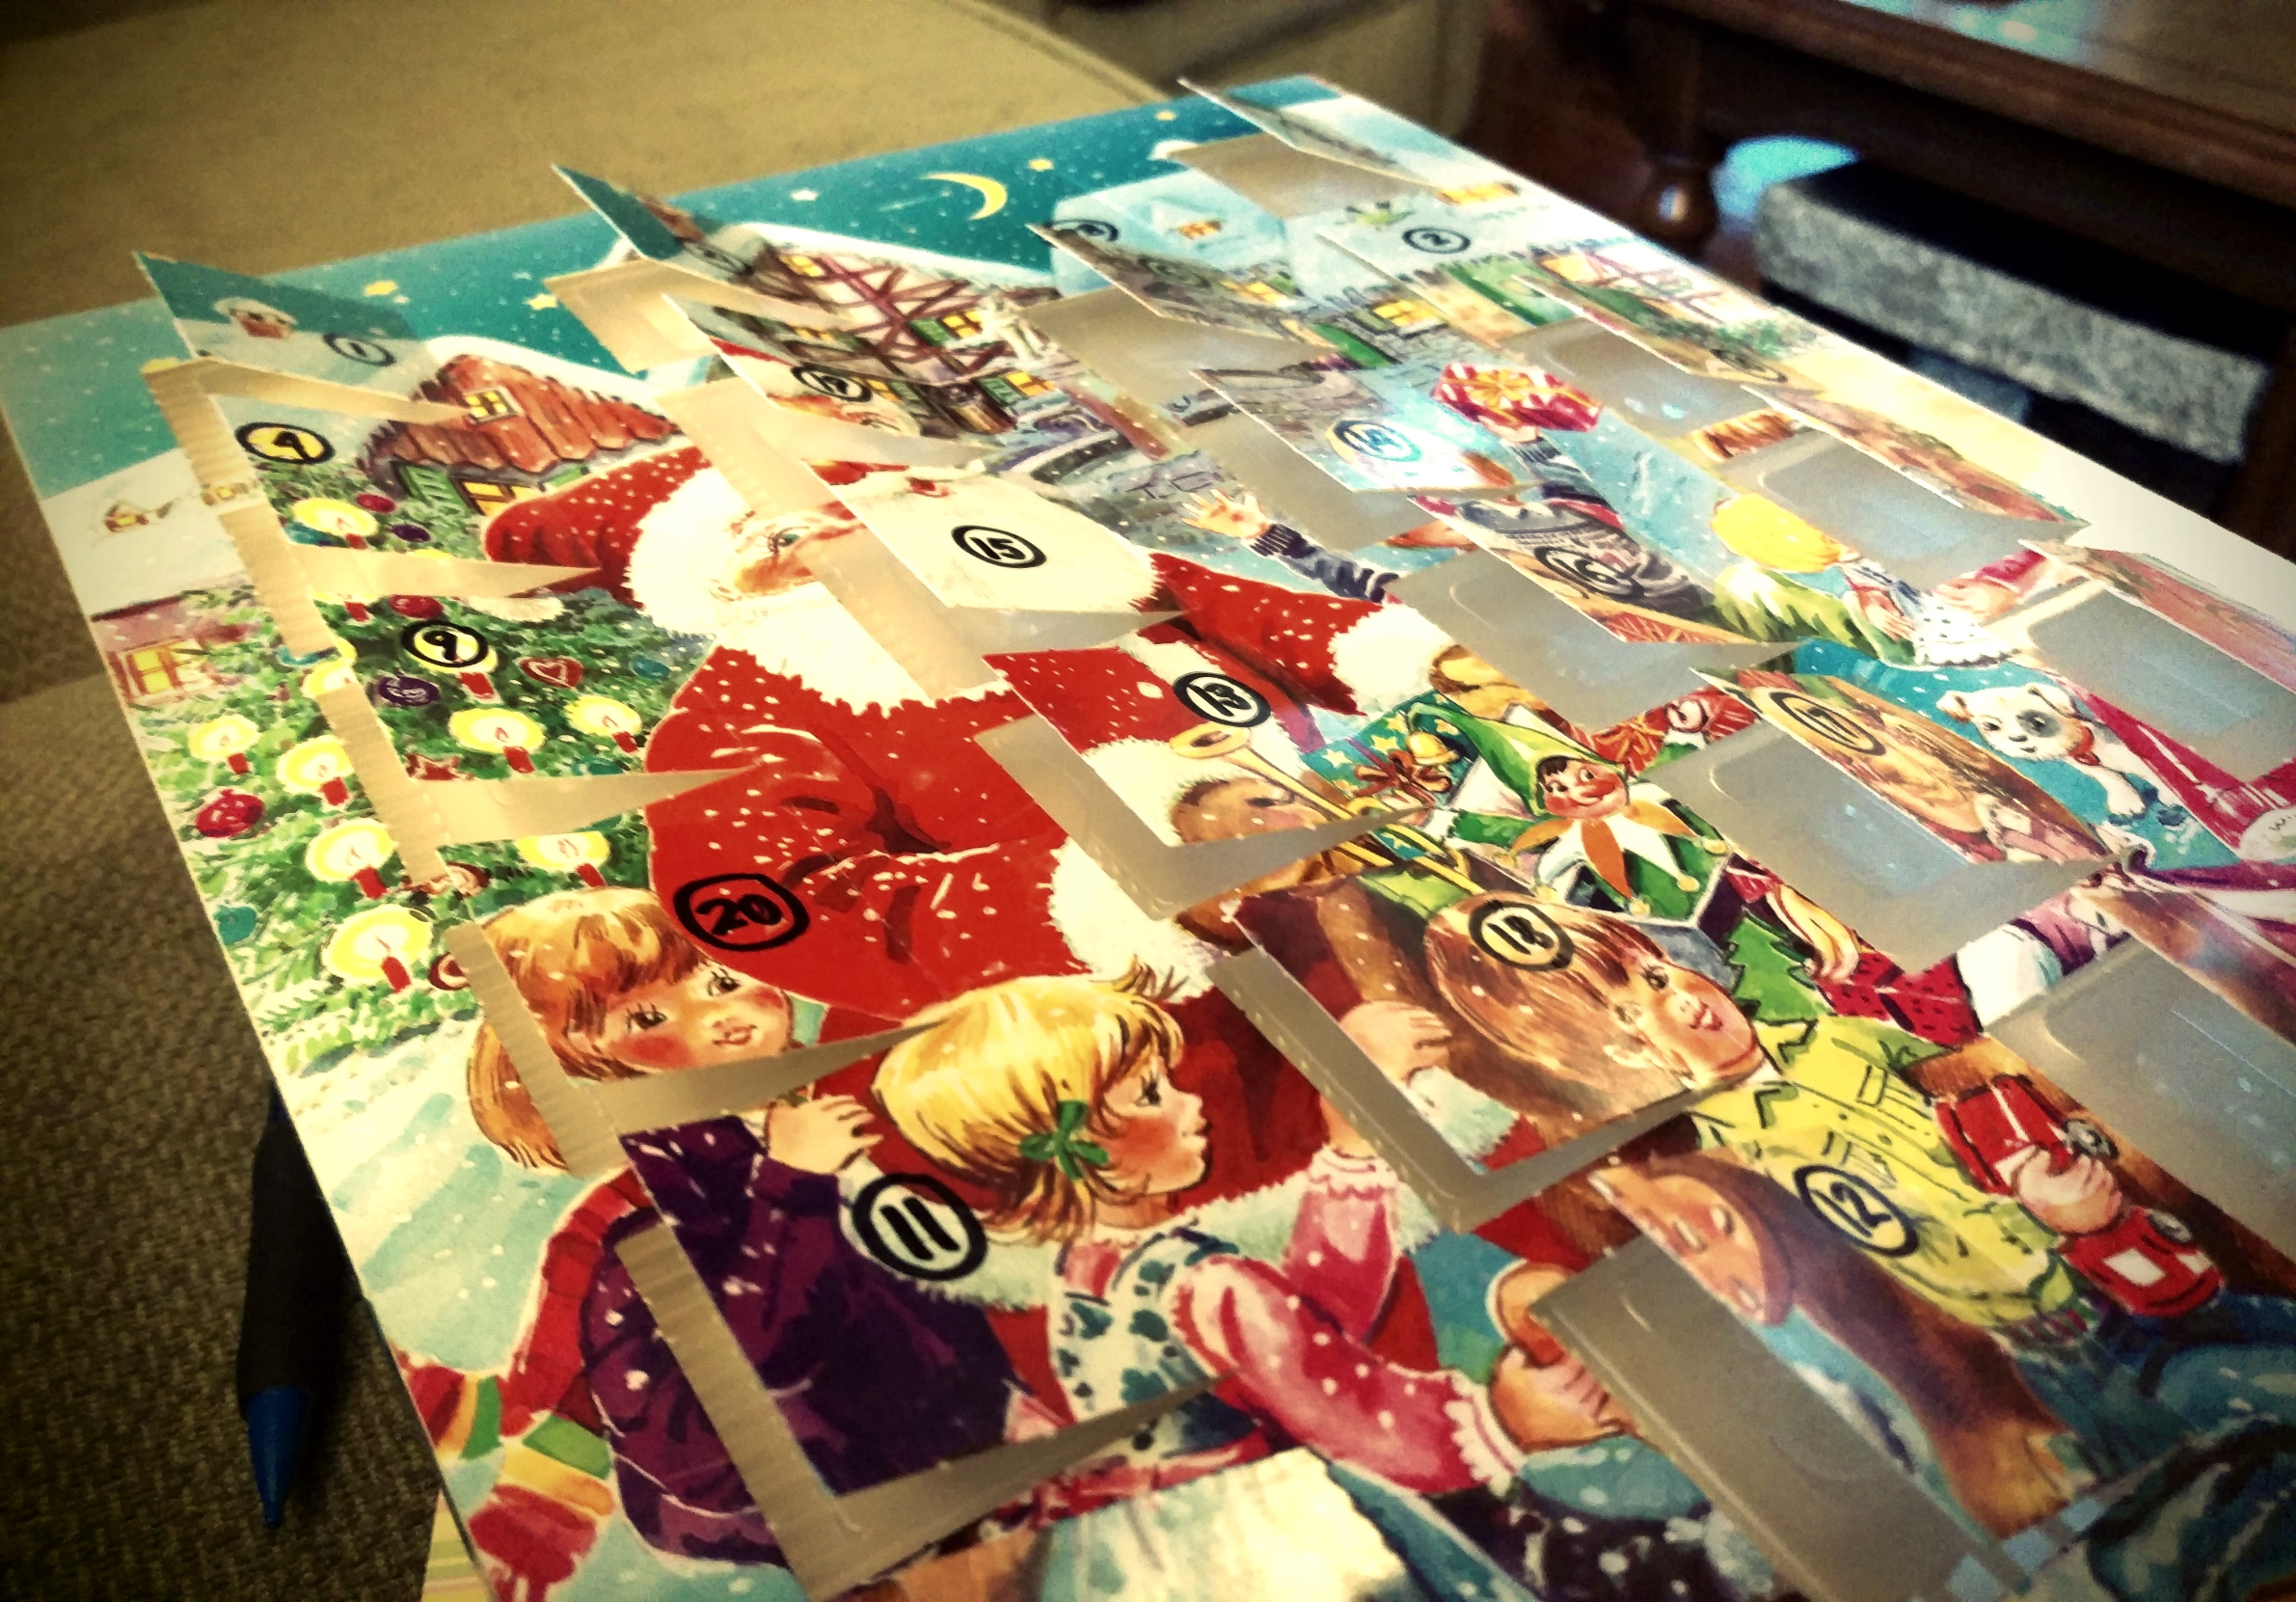
In other news, I played this lovely game this week!
What do you use to repair your blankets?
And what holiday games are you playing this month?
****************
Note: This is not professional advice, this is a blog. I am not liable for what you do with or how you use this information. The activities explained in this blog may not be fit for every rider, riding instructor, or riding center depending on their current condition and resources. Use your best personal judgment!